Fine-Tune Gemma 2 2b Using Transformers and qLoRA (Part 2)
Published:
 As part of our tutorial series focusing on handling Arabic with large language models, we will continue in the second part by exploring specialized methods for fine-tuning the
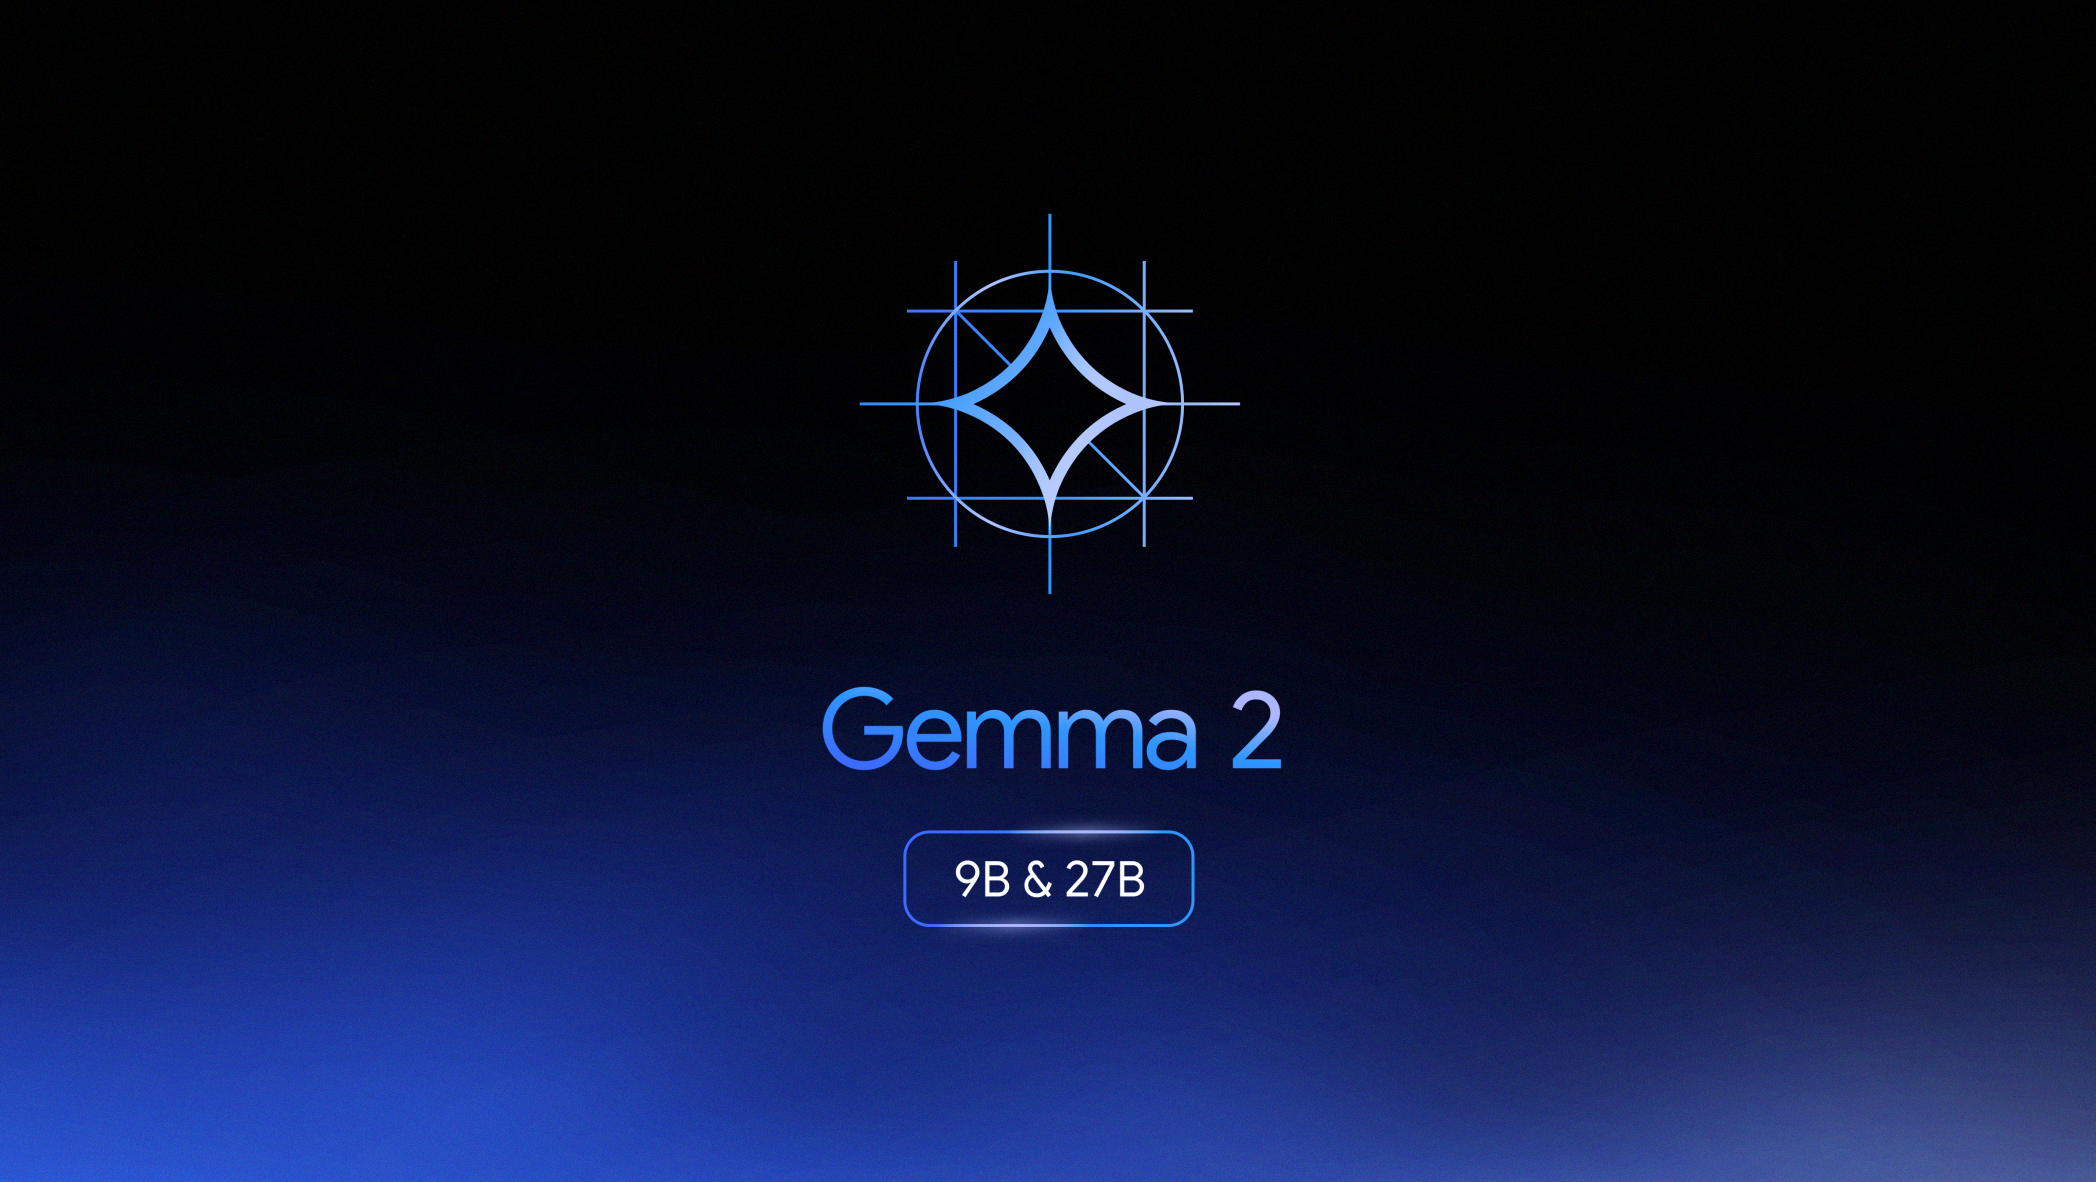
 Gemma-2b model on an Arabic dataset to enhance its performance. We will use the Transformers library and qLoRA (Quantized Low-Rank Adaptation) technique to reduce memory usage.
The first part focused on Retrieval-Augmented Generation (RAG), while in this part we will address fine-tuning Gemma-2b using the arbml/CIDAR dataset, an Arabic dataset aimed at improving model performance in certain Arabic language tasks.
Arabic | Fine-Tune Gemma 2 2b Using Transformers and qLoRA
This tutorial will walk you through fine-tuning the Gemma-2b model using qLoRA on an Arabic dataset, arbml/CIDAR. The process includes preparing the dataset, configuring the model, applying LoRA adapters, and pushing the fine-tuned model to HuggingFace.
About the Dataset: CIDAR
The CIDAR dataset contains 10,000 instructions and their respective outputs. It was curated by selecting 9,109 samples from the Alpagasus dataset, which were then translated into Arabic using ChatGPT. An additional 891 Arabic grammar instructions were sourced from the website “Ask the Teacher.” All entries were reviewed by 12 reviewers.
Step 1 - Prerequisites
Before starting, ensure you have:
- GPU: Gemma-2b can be fine-tuned on a T4 GPU (free on Google Colab), while Gemma-7b requires an A100 GPU.
Check if your GPU is detected:
!nvidia-smi
- Python Packages: Install the necessary packages using the following command:
!pip install transformers peft bitsandbytes datasets wandb
Log in to HuggingFace:
from kaggle_secrets import UserSecretsClient
from huggingface_hub import login

user_secrets = UserSecretsClient()
HF_Read = user_secrets.get_secret("HF-Read")
login(token=HF_Read)
Step 2 - Load and Configure the Model
We’ll be using BitsAndBytesConfig to quantize the model:
import torch
from transformers import AutoTokenizer, AutoModelForCausalLM, BitsAndBytesConfig

bnb_config = BitsAndBytesConfig(
    load_in_4bit=True,
    bnb_4bit_use_double_quant=True,
    bnb_4bit_quant_type="nf4",
    bnb_4bit_compute_dtype=torch.bfloat16
)

model_id = "google/gemma-2b-it"
model = AutoModelForCausalLM.from_pretrained(model_id, quantization_config=bnb_config, device_map={"": 0})
tokenizer = AutoTokenizer.from_pretrained(model_id, add_eos_token=True)
Step 3 - Formatting the Dataset
Let’s load the arbml/CIDAR dataset and convert it into a format the model can understand:
from datasets import load_dataset
dataset = load_dataset("arbml/CIDAR", split="train")

def generate_prompt(data_point):
    prefix_text = 'Below is an instruction that describes a task. Write a response that appropriately completes the request.\n\n'
    text = f"<start_of_turn>user {prefix_text} {data_point['instruction']} <end_of_turn>\n<start_of_turn>model {data_point['output']} <end_of_turn>"
    return text

# Add the 'prompt' column to the dataset
text_column = [generate_prompt(data_point) for data_point in dataset]
dataset = dataset.add_column("prompt", text_column)

# Tokenize the dataset
dataset = dataset.shuffle(seed=1234)
dataset = dataset.map(lambda samples: tokenizer(samples["prompt"]), batched=True)

# Split the dataset into training and testing
dataset = dataset.train_test_split(test_size=0.2)
train_data = dataset["train"]
test_data = dataset["test"]
Step 4 - Apply LoRA
Next, we’ll apply LoRA (Low-Rank Adapters) using the PEFT library:
from peft import LoraConfig, PeftModel, prepare_model_for_kbit_training, get_peft_model

model.gradient_checkpointing_enable()
model = prepare_model_for_kbit_training(model)

modules = find_all_linear_names(model)  # Get modules to apply LoRA to

lora_config = LoraConfig(
    r=64,
    lora_alpha=32,
    target_modules=modules,
    lora_dropout=0.05,
    bias="none",
    task_type="CAUSAL_LM"
)

model = get_peft_model(model, lora_config)
Step 5 - Fine-Tuning
Now, let’s fine-tune the model using the SFTTrainer from the trl library:
import transformers
from trl import SFTTrainer

trainer = SFTTrainer(
    model=model,
    train_dataset=train_data,
    eval_dataset=test_data,
    dataset_text_field="prompt",
    peft_config=lora_config,
    args=transformers.TrainingArguments(
        per_device_train_batch_size=1,
        gradient_accumulation_steps=4,
        max_steps=10,
        learning_rate=2e-4,
        output_dir="outputs",
        optim="paged_adamw_8bit",
        save_strategy="epoch",
    ),
    data_collator=transformers.DataCollatorForLanguageModeling(tokenizer, mlm=False),
)

trainer.train()
Step 6 - Save and Merge the Model
After fine-tuning, we’ll merge the LoRA layers with the base model and save it:
base_model = AutoModelForCausalLM.from_pretrained(
    model_id,
    low_cpu_mem_usage=True,
    return_dict=True,
    torch_dtype=torch.float16,
    device_map={"": 0},
)
merged_model = PeftModel.from_pretrained(base_model, model)
merged_model = merged_model.merge_and_unload()

# Save the merged model
merged_model.save_pretrained("merged_model", safe_serialization=True)
tokenizer.save_pretrained("merged_model")
Step 7 - Push the Model to HuggingFace
Finally, we push the fine-tuned model to HuggingFace:
HF_write = user_secrets.get_secret("HF_WRITE")
login(token=HF_write)

merged_model.push_to_hub("Ruqiya/gemma2_2b_fine_tuned_arabic_dataset", use_auth_token=True)
tokenizer.push_to_hub("Ruqiya/gemma2_2b_fine_tuned_arabic_dataset", use_auth_token=True)
Conclusion
Congratulations! You’ve successfully fine-tuned the Gemma-2b model using qLoRA on the Arabic CIDAR dataset. You now have a customized model capable of performing various tasks related to the Arabic language. By following these steps, you have also learned how to upload the model to HuggingFace, making it available for experimentation and use in future projects.
Please note that this tutorial is intended to help you understand the basic steps, but achieving satisfactory performance may require additional optimization steps.
For further exploration, feel free to check out the links below.
 A journey of understanding, evaluating, and gaining deeper awareness of what truly makes a difference in the world of products.